In this post, I will walk through the steps to fork a GitHub repository in Visual Studio Online using Visual Studio 2015. I am a novice GitHub user but I frequently use Microsoft’s Team Foundation Server (TFS) for project management and code repository. Before you continue, make sure you are familiar with important GitHub (git) concepts. To demonstrate the process, I will fork Orchard CMS repository on Visual Studio Online. Orchard CMS is backed by an active community and the best way to keep the project synced with the latest changes is to setup a source enlistment. Let’s start by creating a new project in Visual Studio online. TFS has two different version control systems. We need to create a Git version control system to be able to fork GitHub repositories in Visual Studio Online.

After the project is successfully created, navigate to the project. On the welcome screen, click Add Code button to go to the code section of TFS. Here you can find the clone URL for your new project:

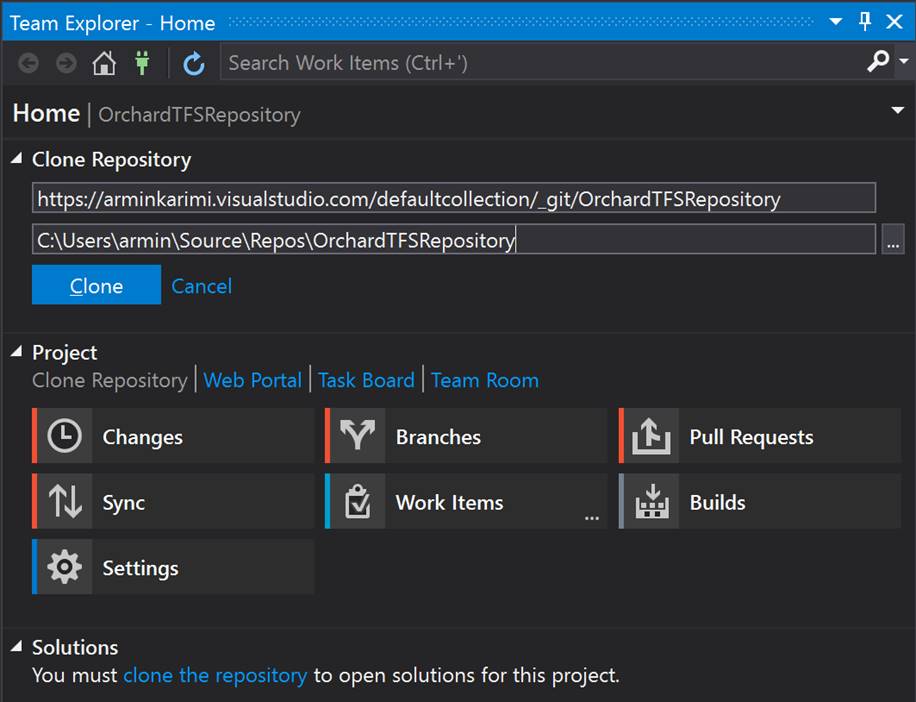
Click the Clone in Visual Studio to clone this repository in Visual studio. Accept the notification to open Visual Studio. You will see Visual Studio has already opened the Team Explorer window, ready to clone your project to a local directory. Select a desired local directory and click Clone button to start cloning your newly created project on your local machine.
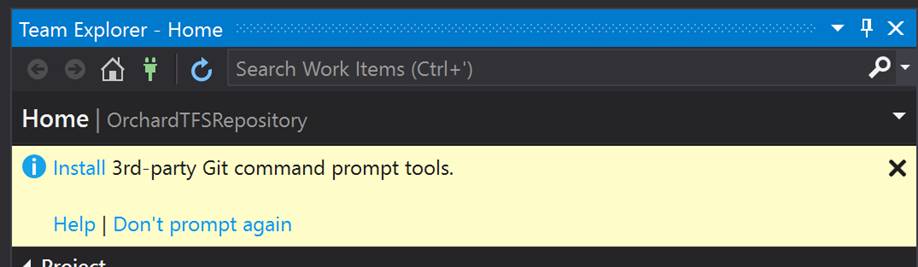
If you haven’t installed the Git command tools, you will be prompted to install it.
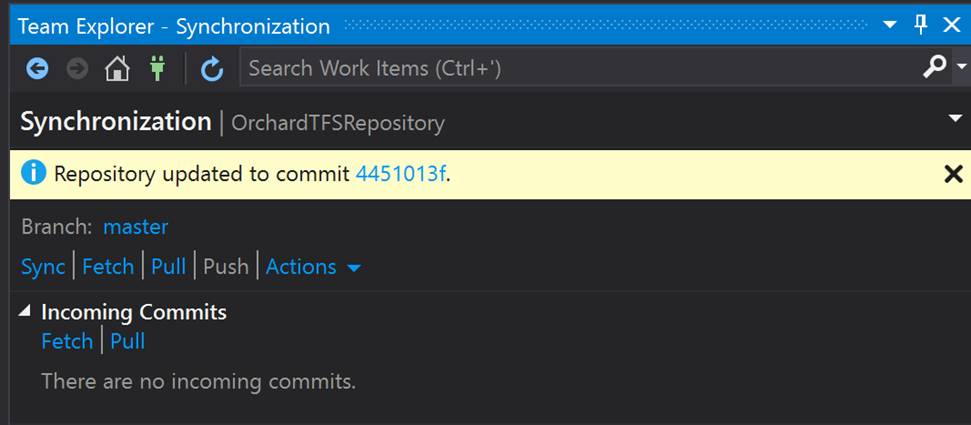
Before cloning Orchard CMS project from GitHub, let’s create a README file for our project to see briefly how Git works in Visual Studio. Go back to Visual Studio Online and click on the Create a README File button. You will be redirected to your project Master branch where a new README file is created for you. We need to synchronize our local repository with the TFS version. Switch to Visual Studio and click on the Sync option in Team Explorer window. Under Incoming Commits section, click Fetch to get a list of changes that has occurred since last time you synchronized your local copy with the master branch. Note that the changes are still not on your local repository and you have the opportunity to review the changes and then merge (sync) them.
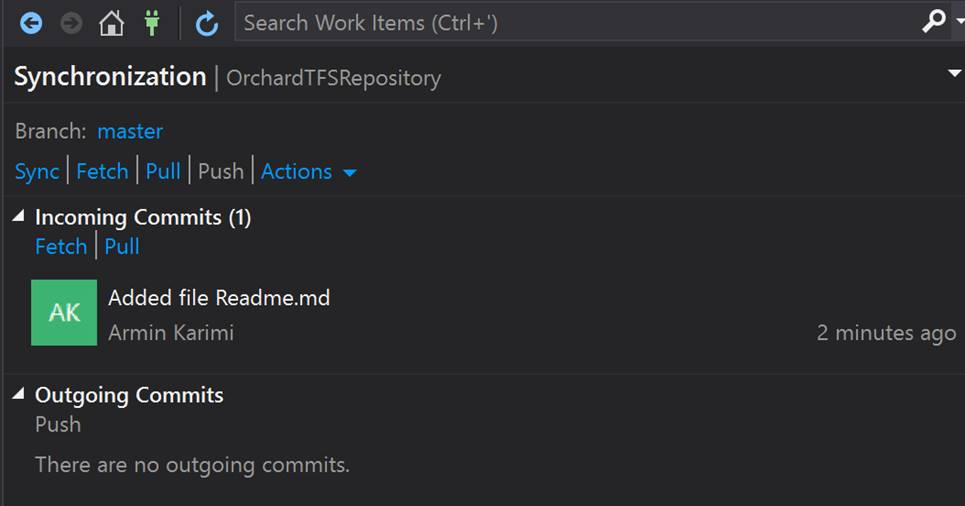
Click on the Pull link and now you have the latest changes on your local machine:
If you click Sync, it is almost like if you perform Fetch and Pull at the same time. However, be aware that Sync also works the other way! It will update your branch (master in this case) in TFS as well.
Let’s make a small change to the README file on the local machine and commit the changes. Open the README file in a text editor and make some changes. Now In the solution explorer go to the Home menu and click on the Changes button.

There is a warning to configure your settings before committing any changes. Click to review them and update those settings. You can always change these settings later.
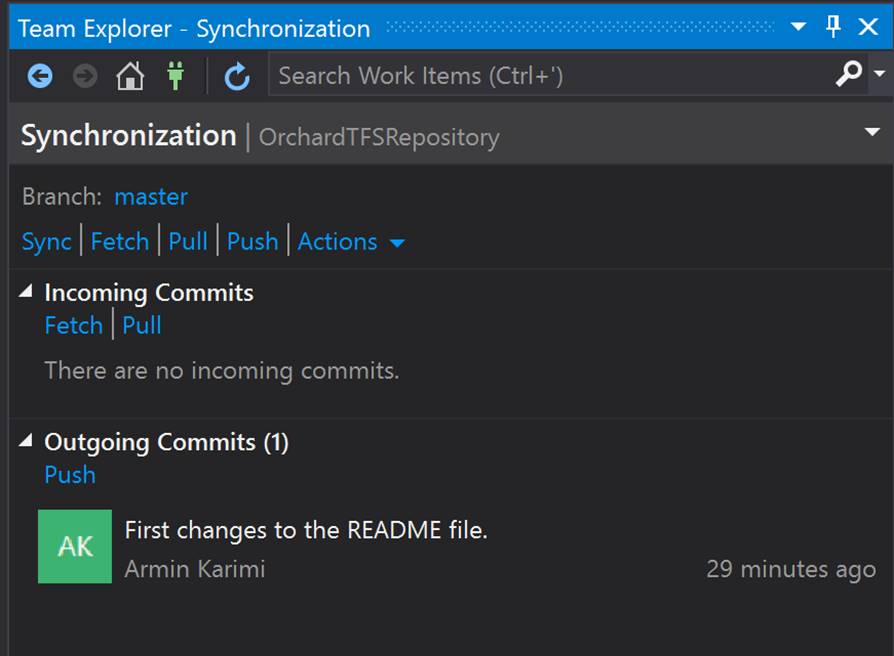
Write a comment for your changes and click Commit button. Again, note that changes are only on your local machine and we have not updated (synchronized) the branch on TFS. To push the changes to TFS, go to Sync menu and you will see under Outgoing Comments section, your changes are listed. Click Push (or alternatively Sync), to push the changes to TFS. You can now go to Visual Studio Online and open the README file there to see your changes are successfully there.
Let’s connect to GitHub to clone Orchard CMS. Navigate back to Team Explorer home screen. Click Settings and then Repository Settings under Git section. We are going to setup a GitHub upstream to be able to synchronize our project with Orchard CMS master branch on GitHub.
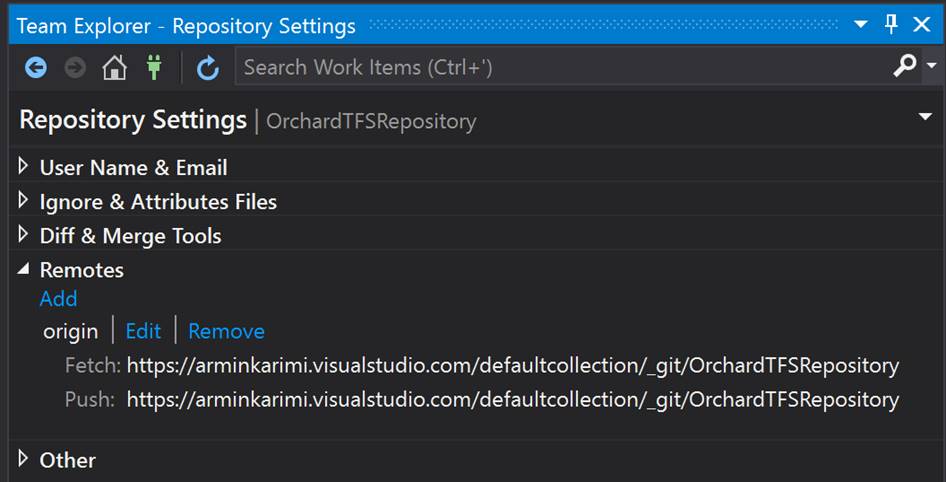
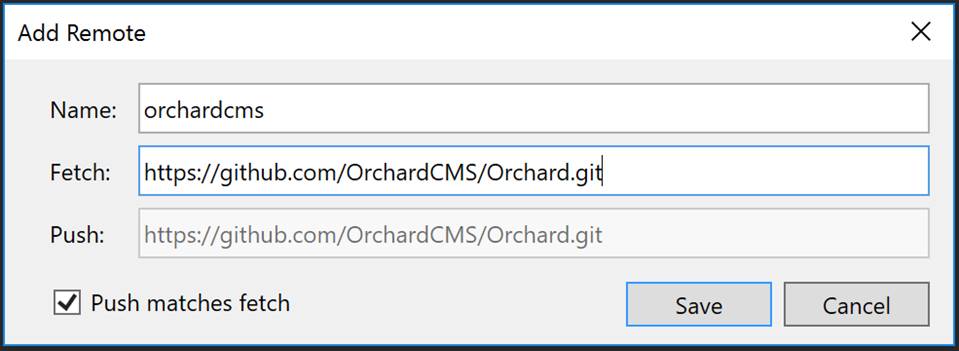
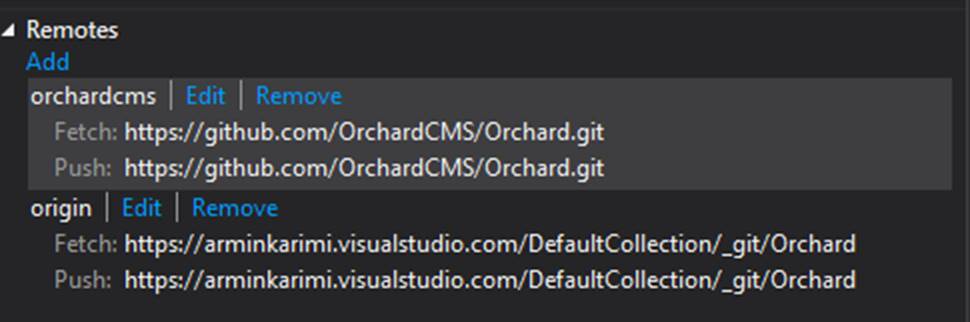
You can already see under Remotes sections we have an origin to our git repository in Visual Studio Online TFS. Click Add to add a new remote to Orchard CMS github project. Enter clone URL from the Orchard CMS GitHub page into Fetch and Push fields and give a name to the new remote. I used “orchardcms” to reference it in the rest of the article:
We now have all the connections ready for our project setup. Next, we need to get the latest Orchard CMS files from github and push the files to the Visual Studio Online git. Go to the Sync menu and click Fetch under Branch: master:
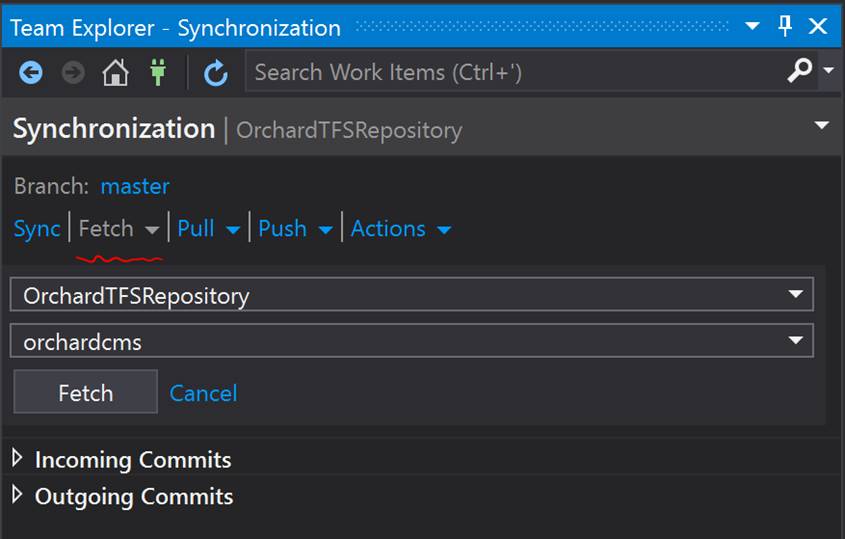
Select orchardcms in the second dropdown and click Fetch button. You will notice it will take a while until Orchard CMS repository meta data gets downloaded to your machine. Next, we are going to fork Orchard‘s master branch. Navigate to****Home/Branches**** menu in Team Explorer:
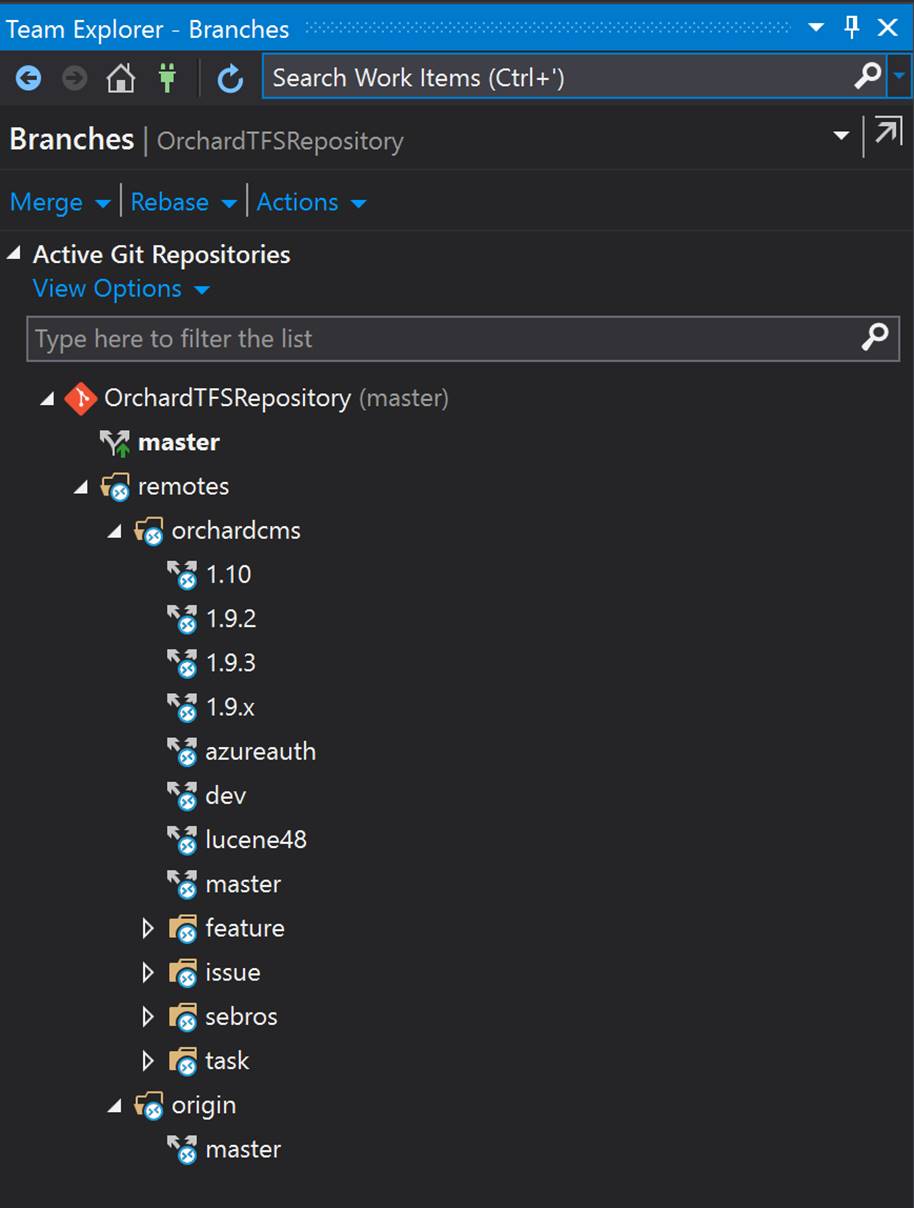
You will see under remotes, you have a list of remote repositories (upstreams) you have configured before as well as list of all branches within them. Right click on orchardcms (Orchard’s) master branch and select Merge From…. On top of the window Merge section automatically gets populated with your selection:
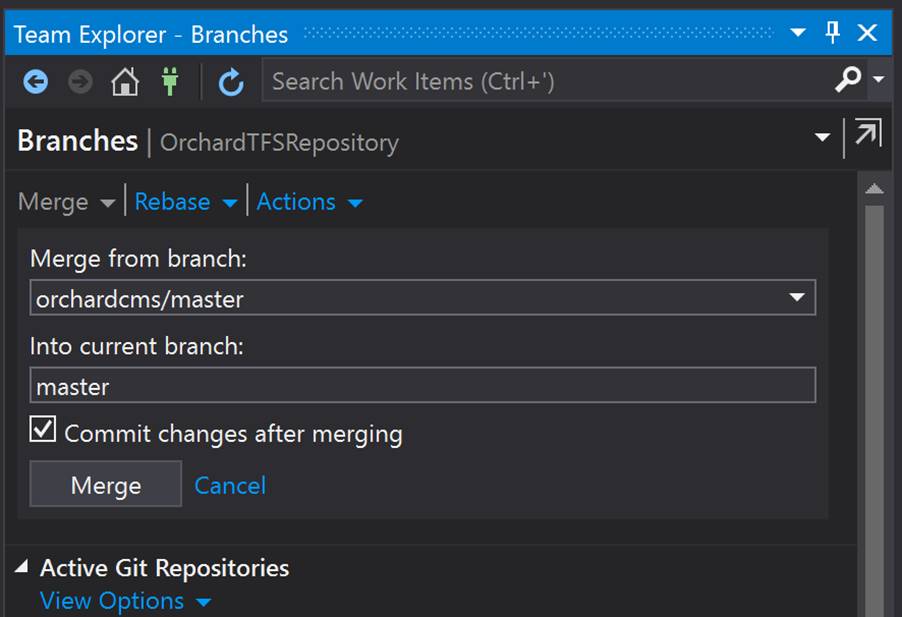
Click Merge button to fork Orchard’s master branch. Note that I have left the “Commit changes after merging” option selected. I know I am going to commit these changes (to my local git!) after the fork(merge), so I leave this option selected.
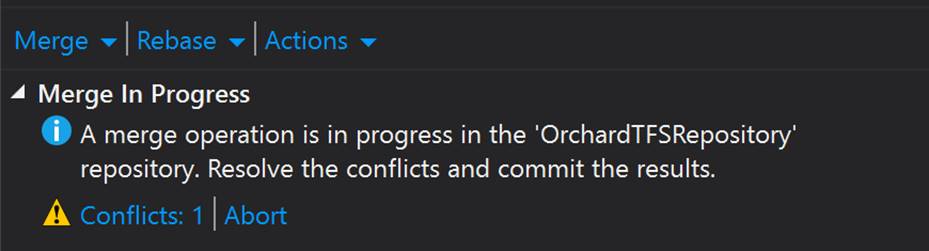
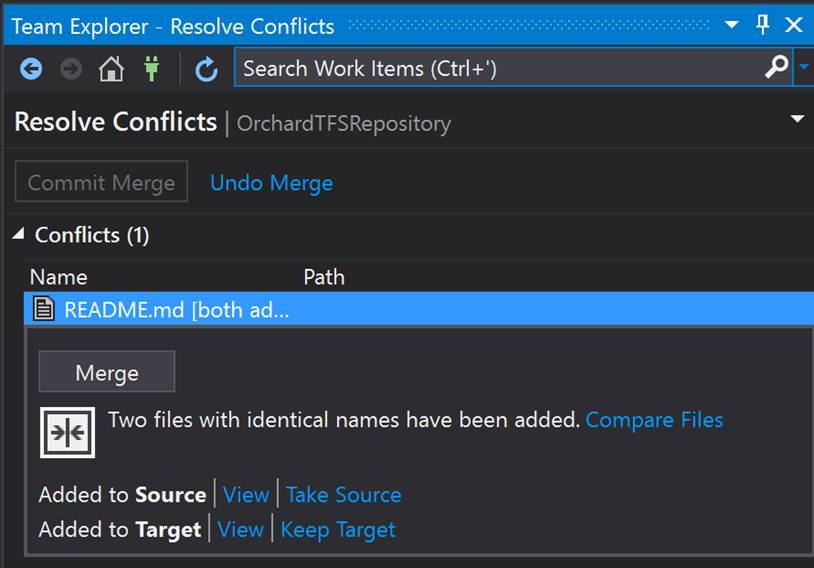
Oh wait! We have a conflict! Earlier, when we created the git project in TFS, we created a README file in our project. Since Orchard repository also have a README file, we have to resolve this conflict. Click on the “Conflicts: 1” to open the Resolve Conflicts menu. You have several options to investigate the conflict in detail (which you might want to do in a more complicated scenario), but for now, I am going to simply “Take Source” version (which is the README file from Orchard CMS repository) and replace my target version (the README file on local machine.).
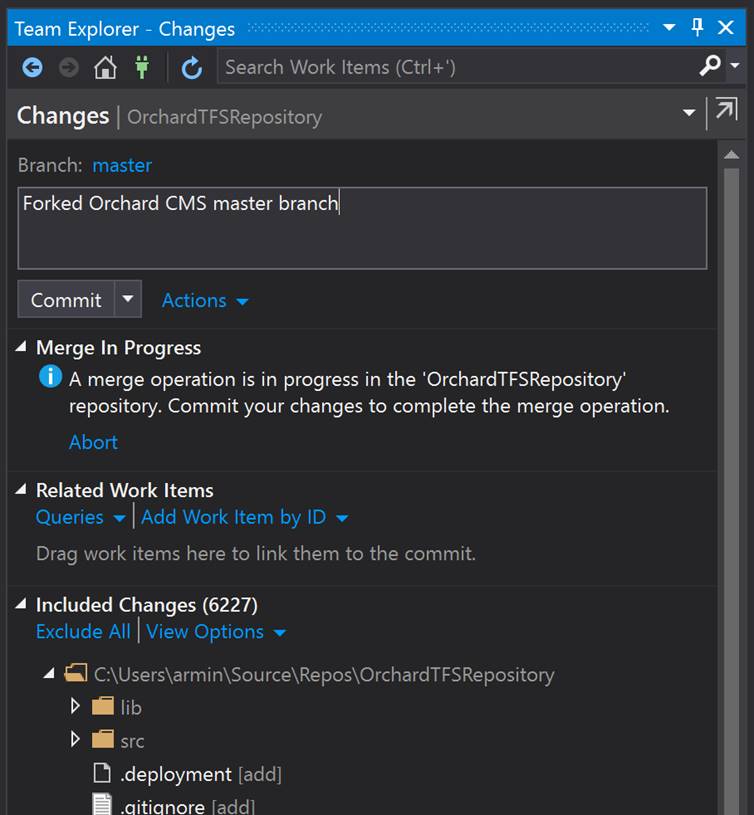
After resolving the conflict, you will be asked to review the changes, write a comment and commit your changes. Note that you have the option to modify the files before commit! The files are on your local machine (check the directory you have mapped your project to). Click the Commit button to commit your changes.
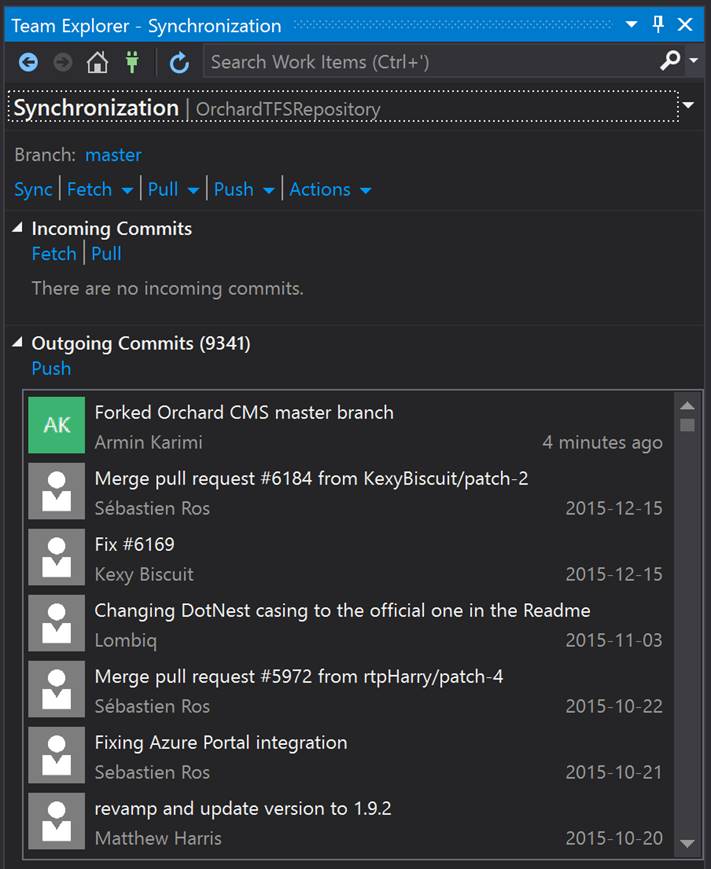
Let’s navigate back to the Sync menu in Team Explorer. At this stage, the files on the local computer have the latest files from the Orchard CMS GitHub project. We now need to sync (push) the changes to the Visual Studio Online Repository. Click Push and your fork is ready in Visual Studio TFS.
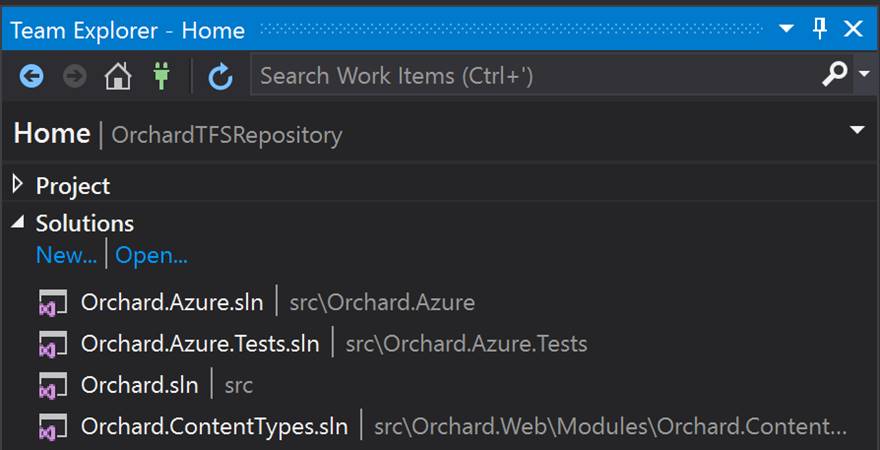
If you navigate back to Team Explorer Home page, a few solutions have appeared under the Solutions section. Double click the Orchard.sln and you are on your way to customize your Orchard solution with ability to get the latest changes from the Orchard CMS master branch, and at the same time you can keep track of your customizations in TFS.